CLI Basics
This document shall provide you with sufficient knowledge to understand why you type every single command to get the mini projects running. It is not technically in-depth (you'd have to go to ISTD for that), but is sufficient to get you through the mini projects setup.
NOTE: This guide uses the old public repository https://github.com/Data-Driven-World/d2w_mini_projects.git as its examples. This will be different from your current mini project repository. Your current mini projects have separate repositories for mini project 1 and 2 and they use Streamlit instead of Flask. However, the concept about command line interface remains the same.
Everything described in these sets of notes is a gross oversimplification of what actually happens in your computer. Take the subject 50.005 in ISTD (Term 5) if you'd like to learn more.
Interacting with Your Computer
Most of you have been using your computer daily by interacting with its Desktop graphical user interface:
- Clicking the start menu
- Double-clicking an app to open
- Right-clicking ---> select options to rename/delete files
- Clicking options in the toolbar, etc
You customise your desktop: wallpaper, shortcuts, files, screensaver --- forming a desktop environment that you can interact with graphically (e.g: move mouse and click).
A desktop environment typically consists of icons, windows, toolbars, folders, wallpapers and desktop widgets.
Long before Desktop GUI is made, people interact with their computers via the the Command Line Interface (CLI, also known as the termina). They enter commands via text to use the computer entirely. For example, suppose we want to rename the folder Data-Driven-World.github.io to Data-Driven-World-website.github.io. You might think that renaming a file can only be done by right clicking on the file and then ---> rename.
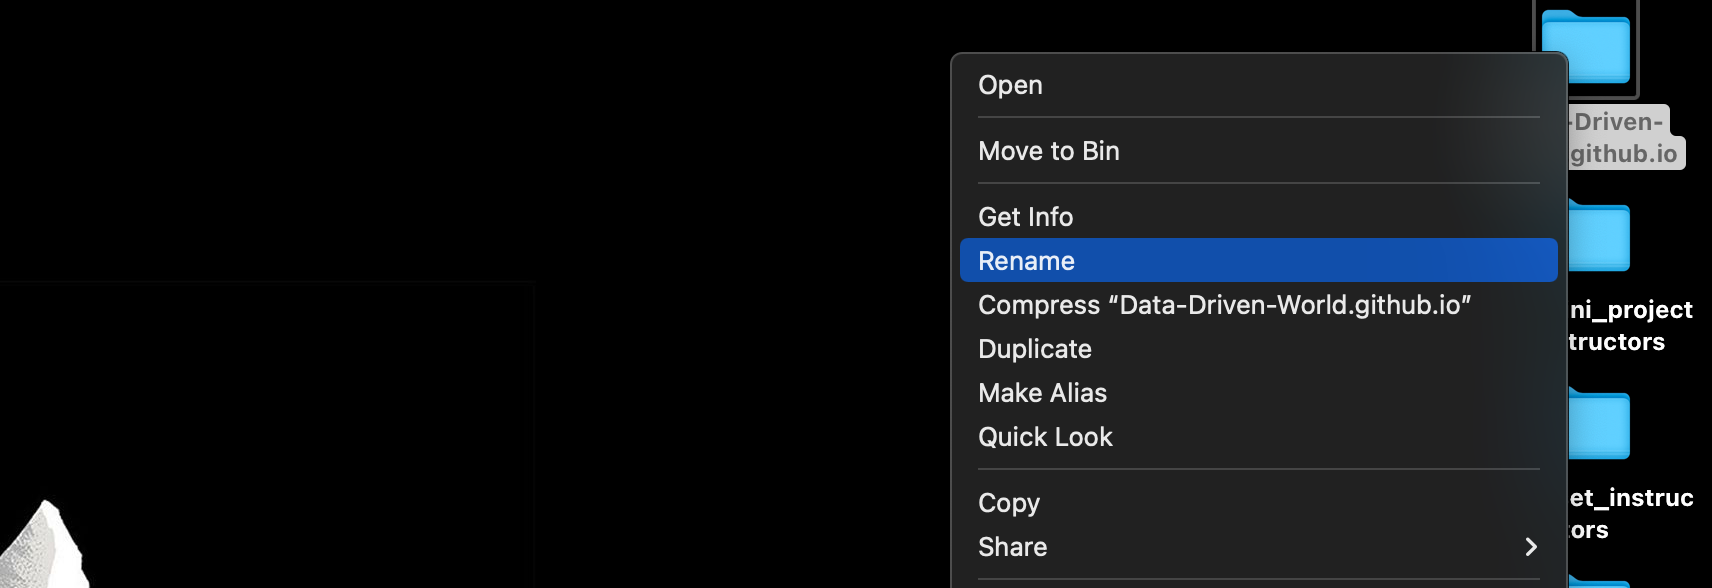
However, one can enter the following command to the terminal and achieve the same result:
mv Data-Driven-World.github.io Data-Driven-World-website.github.io
The Command Line Interface
As said above, the command-line interface (CLI) is a text-based user interface (UI) used to run programs, manage computer files and interact with the computer. In fact, almost everything (OS-related stuffs) can be done via the CLI.
Who needs desktop 🤷🏻♀️

Each operating system has its own command line:
- Windows: Command prompt / Powershell / Terminal
- We recommend using Terminal as it tries to maintain compatibility with Unix commands
- macOS: Terminal, iTerm2
- Linux: We believe in you ☺️
Getting Started
Open a terminal window. Regardless of whichever OS you use, you are likely to be faced with a prompt (the thing with the cursor, waiting for your command).
You can type commands into the prompt, and then press enter to execute that command. For example, the first two commands you have to enter to download the mini project 1 repository is as shown below. NOTE: Replace the URL with your private repository's URL after accepting the assignment from Gradescope. The URL is the portion that starts with https://github.com/....
cd Downloads
git clone https://github.com/Data-Driven-World/d2w_mini_projects.git
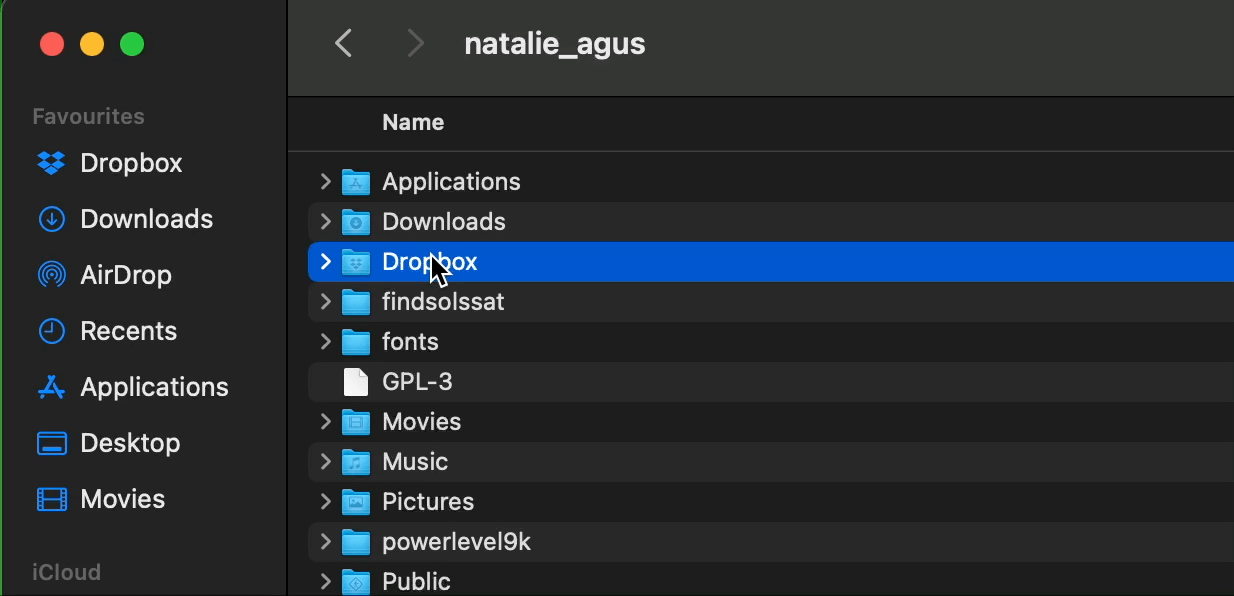
Each of the line above is one command. The first command is cd (stands for change directory). It changes your current working directory, just like how you click open folders after folders in your Finder or File Explorer to navigate through your file system and find the right location and create new things in this location you want:
The same thing can be done via the command line:
So cd Downloads is none other than navigating to ~/Downloads folder.
The next thing to do is to download the starter code for your mini projects. The second command git clone [project_url] does that. We ask the program git to clone (download) the repository situated in the url into your ~/Downloads folder. . This is essentially the same as actually opening the url on the browser, and clicking Download ZIP, landing the project in your ~/Downloads folder.:

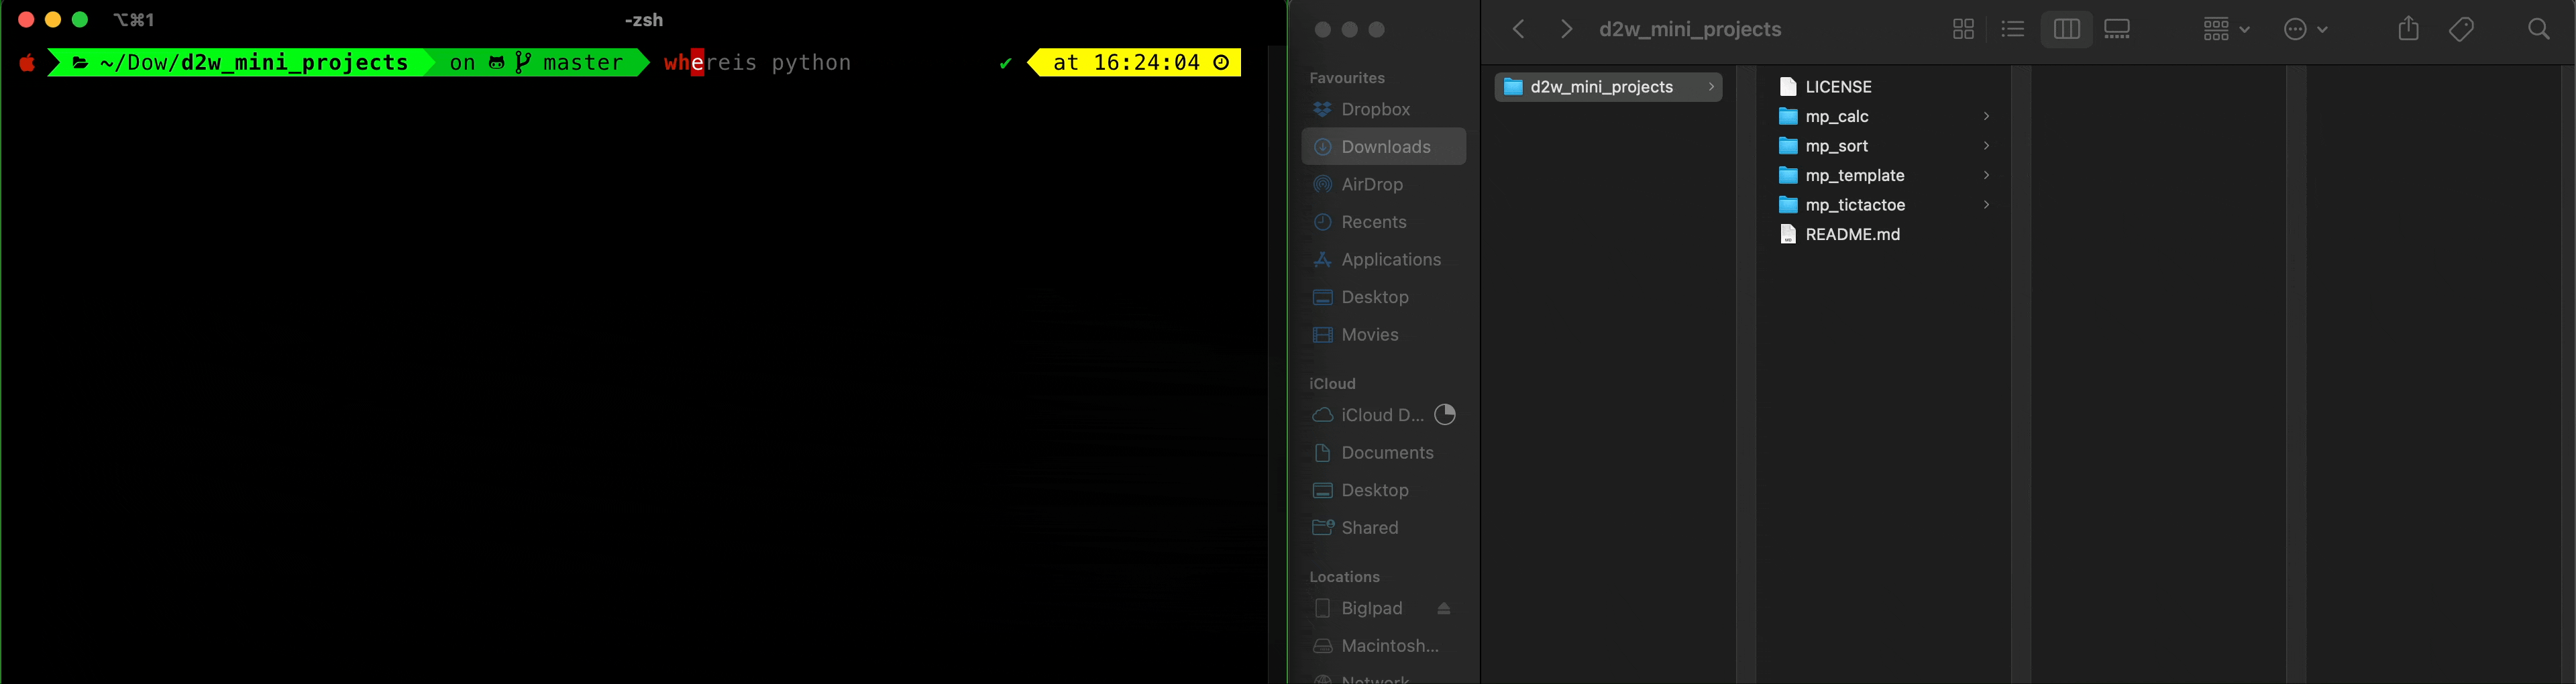
Notice how the new folder d2w_mini_projects are created after you clone:

How CLI Works (Baby Edition)
Remember that previously you have installedgit? Installation means that you downloaded the program to your computer so that your computer can execute (use) it. This git program has many functionalities, just like how another program you are familiar with: Microsoft Word have their own functionalities. The difference between git and Microsoft Word is that the latter has a graphical user interface (you can see the windows, buttons, etc and click), while the former only has a command line interface (it accepts textual-based commands).
The horror with CLI-only programs is that you might need to memorise a few useful inputs to the program prior (which unlike Microsoft Word interface, the GUI is quite intuitive). This can be done by reading git documentation or simply googling terms like: common git commands, etc.
Notice that git (the first word of the command you typed above) is actually a program, and that clone [project_url] is an input to the git program; it means that we tell git to clone from this url. git accepts various inputs: git commit -m [message], git init, git add [files], and many more.
Where is git?
We can find git by typing whereis git command (for macOS and Linux only), or where git command for Windows. It will print the path of where this git program is stored. In the example below, its stored in /usr/bin/git. We can actually find it via the file finder, and attempt to double click to open it.
- It will open only a terminal, and print out some output before terminating
- This is because simply double clicking git does not gives it adequate input (like
clone) - This is equivalent to just typing the command
gitand pressing enter in the terminal as shown

As you can see, git is just like any other programs you have downloaded and installed in your computer (MS Word, Steam, Telegram, Whatsapp), just that these programs have a graphical user interface while git does not.
Where is python?
python works the same way. You can find where python is installed in your computer and try to double click it. In the demo below, python in installed in /Users/natalie_agus/.pipenv/shims/python. Finding it via the file finder and double-clicking it opens a terminal window where you can use python interactively in the terminal.
When you want to run a Python script, you can use the command python file.py, which means to give file.py as an input to the python program and run it.
Summary
The first word of each command that you have to enter to the CLI is most likely the name of the program that you want to execute. Whatever that comes on the right side of that program name is the input to that program.
A special exception is cd (this is not a program, go and take ISTD subject 50.005 to find out more), but all other commands you will use for mp_sort is a program. Try to find where the following resides (the path) in your computer and open it via the GUI file finder:
lsordirflaskpipenvpip
File Path
Each file on a computer has a path, such as C:\Users\natalie_agus\Downloads\d2w_mini_projects\mp_sort\application.py or /Users/natalie_agus/Downloads/d2w_mini_projects/mp_sort/application.py. Usually we can shorten it into ~/Downloads/example-file.txt where ~ is /Users/natalie_agus, also known as your home path.
The reason one uses / (macOS/Linux) and the other \ (Windows) is because each OS uses a different file system. Think of it like a different manager and storage system.
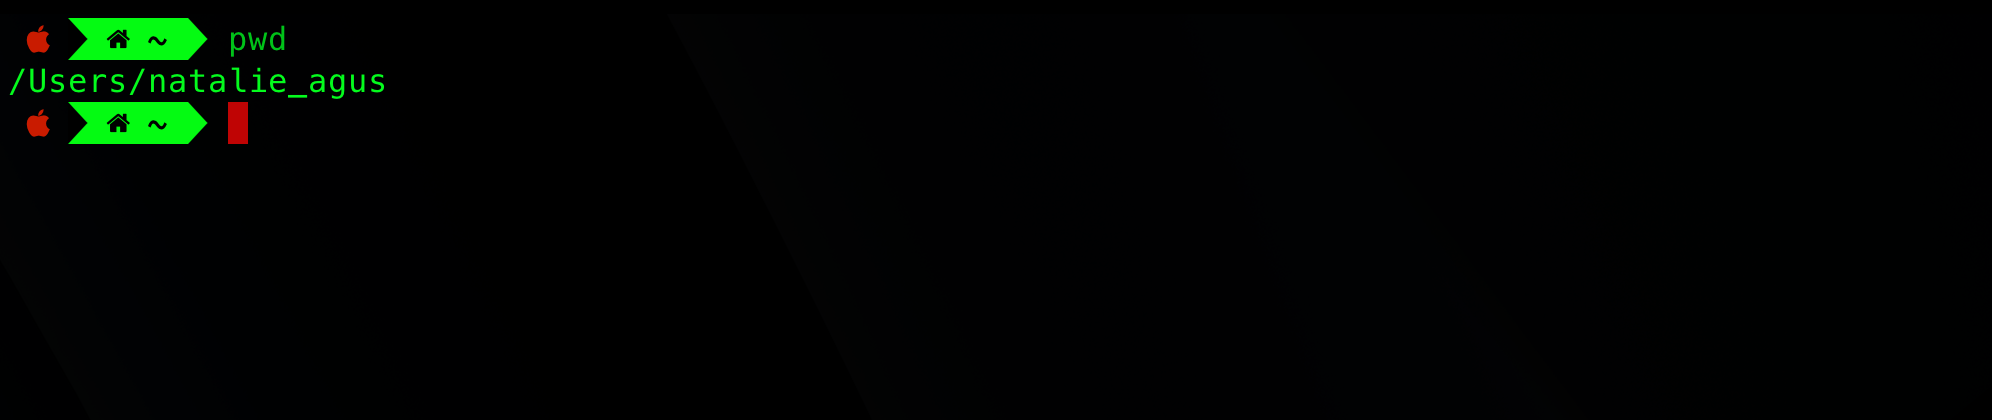
Folders also have a path. The path of the Downloads folder is then C:\Users\natalie_agus\Downloads or /Users/natalie_agus/Downloads. It is important for your terminal to "open" the right folder before executing a command, otherwise you may not find the file. You can find out your terminal's current "opened" folder using the pwd command (macOS/Linux) or cd (without any parameter) for Windows.
For example, if we execute the command python application.py, we need to ensure that the current working directory of the CLI is at /Users/natalie_agus/Downloads/d2w_mini_projects/mp_sort. The example below shows a scenario where you are at the wrong directory, and the file application.py is not found (error message printed by the terminal).

We need to "open" the mp_sort folder first before we can successfully launch application.py:
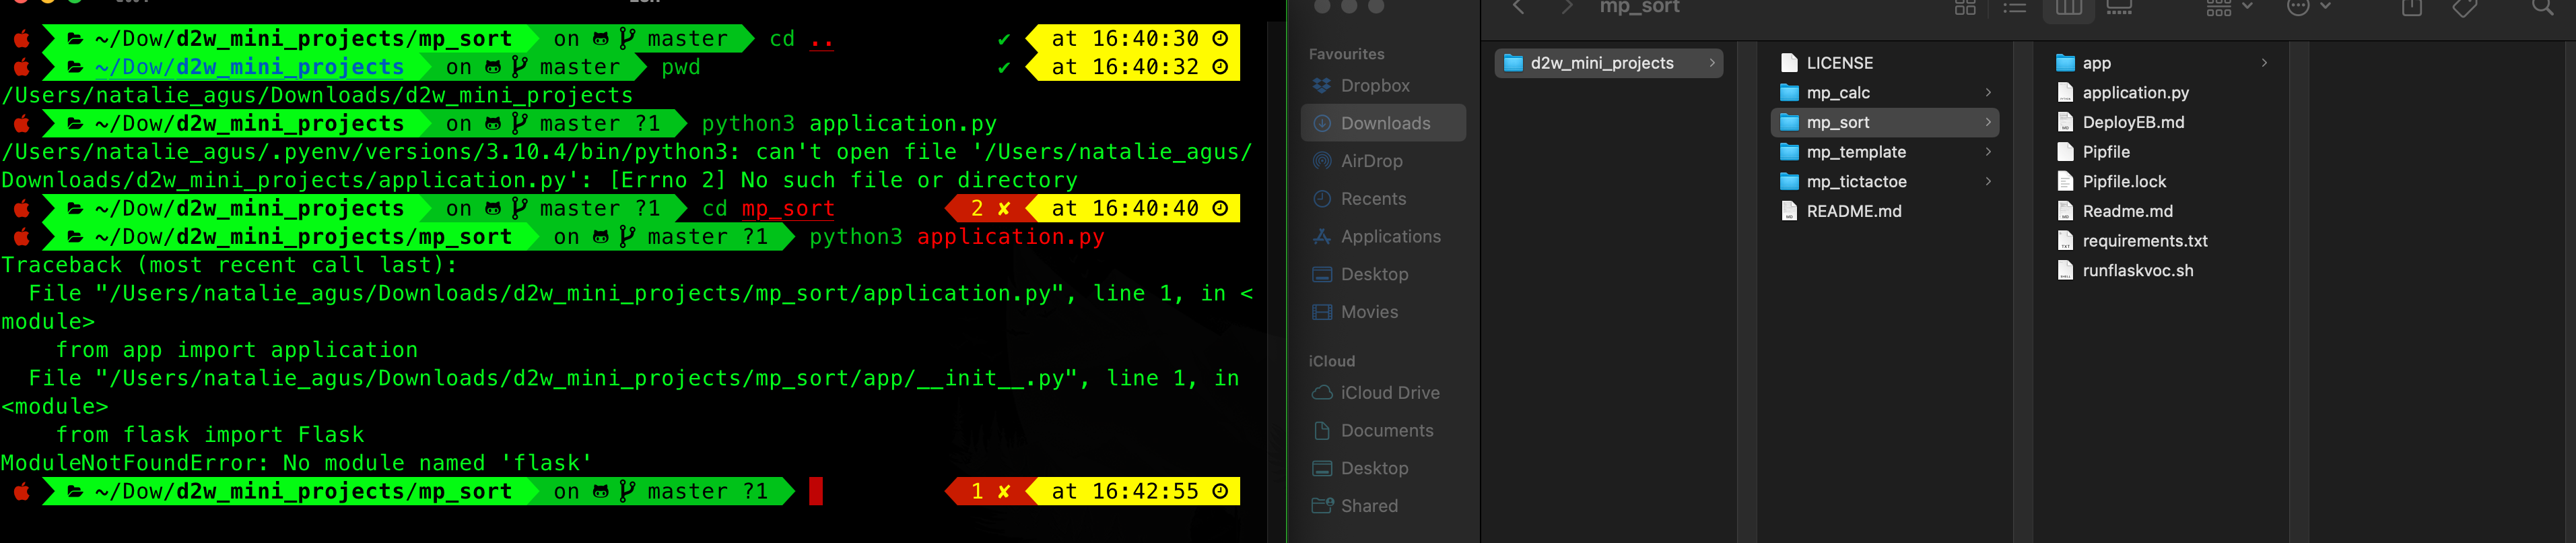
Notice the error message is no longer [Errno 2] No such file or directory, but ModuleNotFoundError: No module named 'flask'. We know two things from this message:
pythonhas launched succesfully, and the error message above is printed bypythonand not our terminal- We have not installed
flaskmodule forpythonto import
Path Navigation in CLI
You can use cd [path] to navigate ("open") the folder that you want in the terminal.
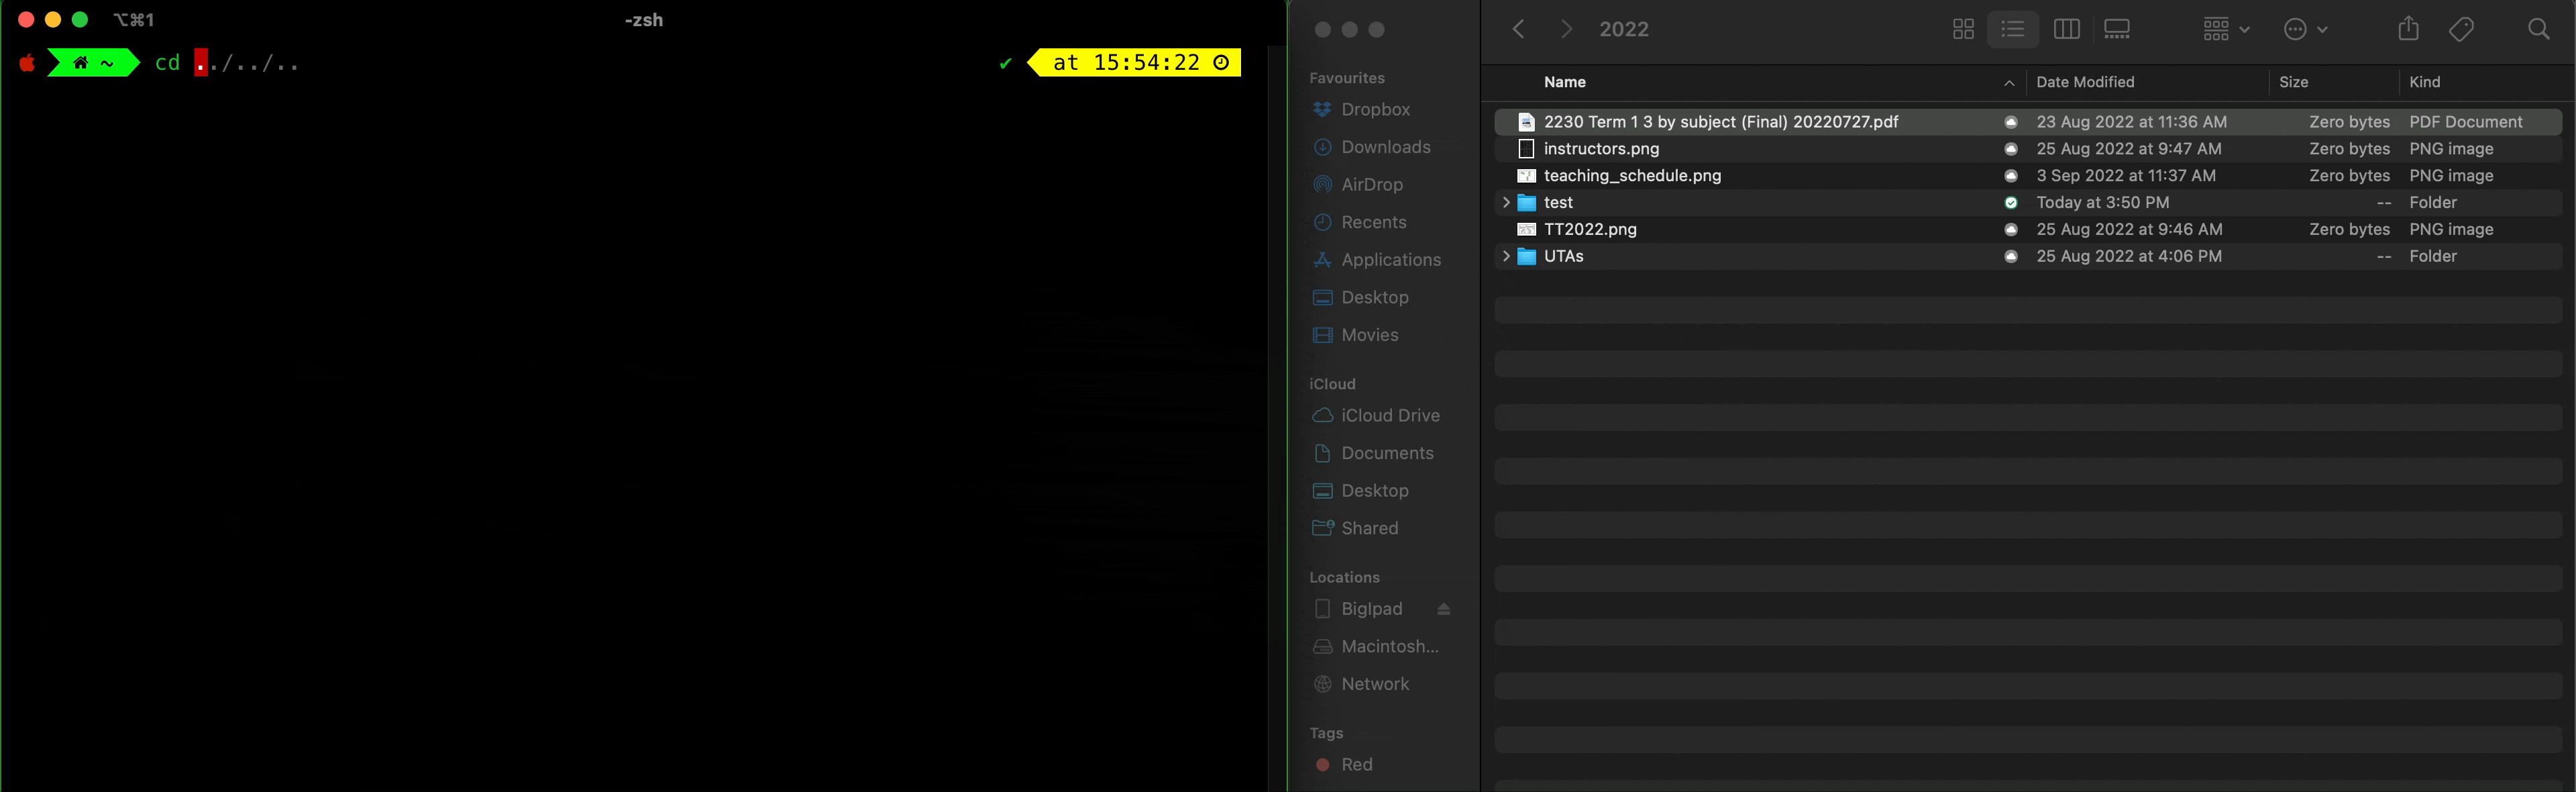
For instance, cd /Users/natalie_agus/Downloads/d2w_mini_projects/mp_sort opens the mp_sort folder right away (that is if you can remember its path). Usually, people can't remember the path of their files, and instead perform cd in stages, combined with ls or dir to view the list of files in the current opened folder:

Tips: press tab to autocomplete certain commands. The example you saw above utilises many terminal extensions to make your terminal pretty. macOS or Linux users, do yourself a favor and read this article.
PATH Environment Variable
Not to be confused with file path concept above.
PATH is simply a variable containing a list of directories to search when you enter a command into the command line. Formally, it is called environment variable but you don't have to understand what it means for now (take 50.005 in ISTD to find out more). This is the magic behind command execution.
You can check this list by typing echo $PATH in your macOS/Linux terminal, or $Env:Path in your Windows terminal
- You will have an output looking as such
- Each "value" is separated by the colon (
:)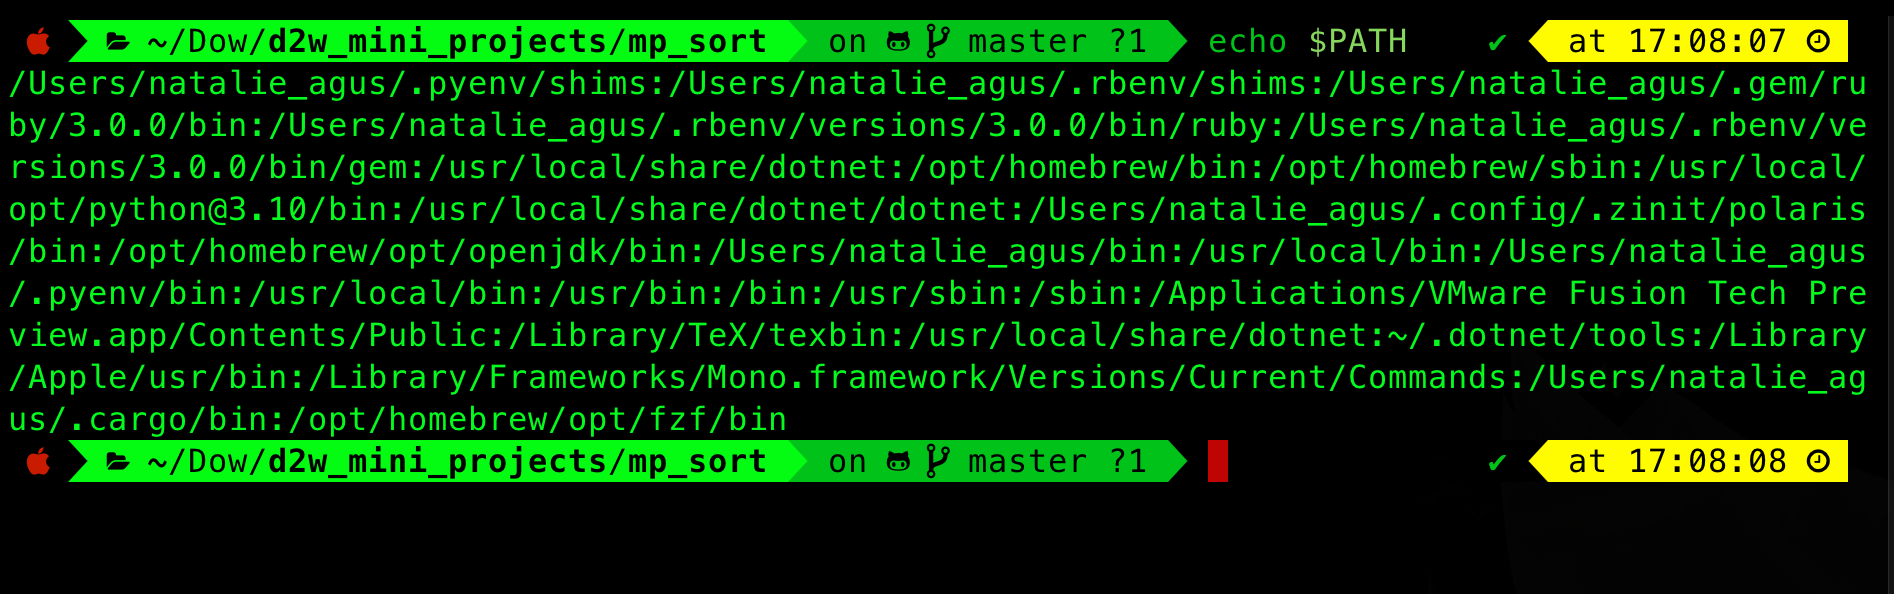
For example, if you enter python into the terminal, the terminal does the following:
- Goes through the list of directories in the
PATHvariable,- It will start searching for
pythonin/Users/natalie_agus/.pipenv/shimsif thePATHcontent is as the screenshot above
- It will start searching for
- Checks each directory if it contains the
pythonexecutable - If it does, execute it
- Else, check the next directory
- If
pythondoesn't exist in/Users/natalie_agus/.pipenv/shims, it will look forpythonin the second value:/Users/natalie_agus/.rbenv/shims, and so on.
- If
- If
pythonis not found anywhere, it will printcommand python not foundand returns
Adding Executables to your PATH
If you've ever tried to execute a command and was faced with an error such as the following in Windows:
[name] : The term '[name]' is not recognized as the name of a cmdlet, function, script file, or operable
program. Check the spelling of the name, or if a path was included, verify that the path is correct and try
again.
At line:1 char:1
+ xxx
+ ~~~~~~~
    + CategoryInfo          : ObjectNotFound: ([name]:String) [], CommandNotFoundException
    + FullyQualifiedErrorId : CommandNotFoundException
or the following in macOS/Linux:
zsh/bash: command not found: [name]
The above is simply an indication that your computer has searched through your PATH variable, but has not managed to find the program whose name matches the requested command.
To fix this, we simply need to ensure that our computer can find this executable. Windows handles this differently from macOS/Linux, so we describe the process for both operating system types:
Windows
- Search for 'Environment Variable' into the Windows search bar, and click on 'Edit the system environment variables'
- Click on the 'Advanced' tab
- At the bottom of the tab, click on 'Environment Variables'
- On the new 'Environment Variables' window that pops up, look for the 'PATH' entry in the list of 'System variables' (bottom half of the window)
- Select the 'PATH' entry, and click 'Edit...'
- You can now add a new directory by clicking 'New' and entering the desired path (the location where you want the terminal to find the program whose name matches the first word of the command you will enter in the CLI)
- When finished, click 'OK' on all the windows
- Make sure to close and re-open a new terminal window before checking if the executable was successfully added to your
PATH
You can refer to various online guides if you're stuck.
macOS and Linux
We can add to our $PATH by editing our ~/.bashrc or ~/.zshrc file, which can be thought of as a configuration file for our terminal. This file can be found in your home directory.
- If your terminal uses
zsh, you should edit~/.zshrcfile - else, you might be using
bash, and you should edit~/.bashrcfile - If you're using other stuffs like
fish,tcsh, orksh, you're beyond us and you're probably not reading this document 😄
-
Navigate to your home directory in your command line
$ cd ~ -
Open the
.bashrc(or.zshrc) file with the text editor of your choice, for examplenano:nano .bashrc -
Scroll to the bottom of the file, and add the following line:
export PATH=/path/to/exec:$PATH -
Save the file (
Ctrl-OthenReturnthenCtrl-Xinnano)Please edit
/path/to/execto point to the directory where your executable is located, and do not just blindly copy-and-paste
To explain the line we just added to the .bashrc file:
export <variable> = <value>sets a variable to the specified value- Hence we are setting
PATHto a new value
- Hence we are setting
/path/to/exec:$PATHhas the value of our old PATH variable appended at the back, plus our desired new directory$PATHhas a dollar sign because we want to reference the contents of thePATHvairable:is the separator used for the PATH variable
Python Modules
When you navigate to wherever mp_sort is, e.g: cd /Users/natalie_agus/Downloads/d2w_mini_projects/mp_sort, and try running python3 application.py before anything else, you might be met with ModuleNotFoundError, namely that you might not have flask installed.
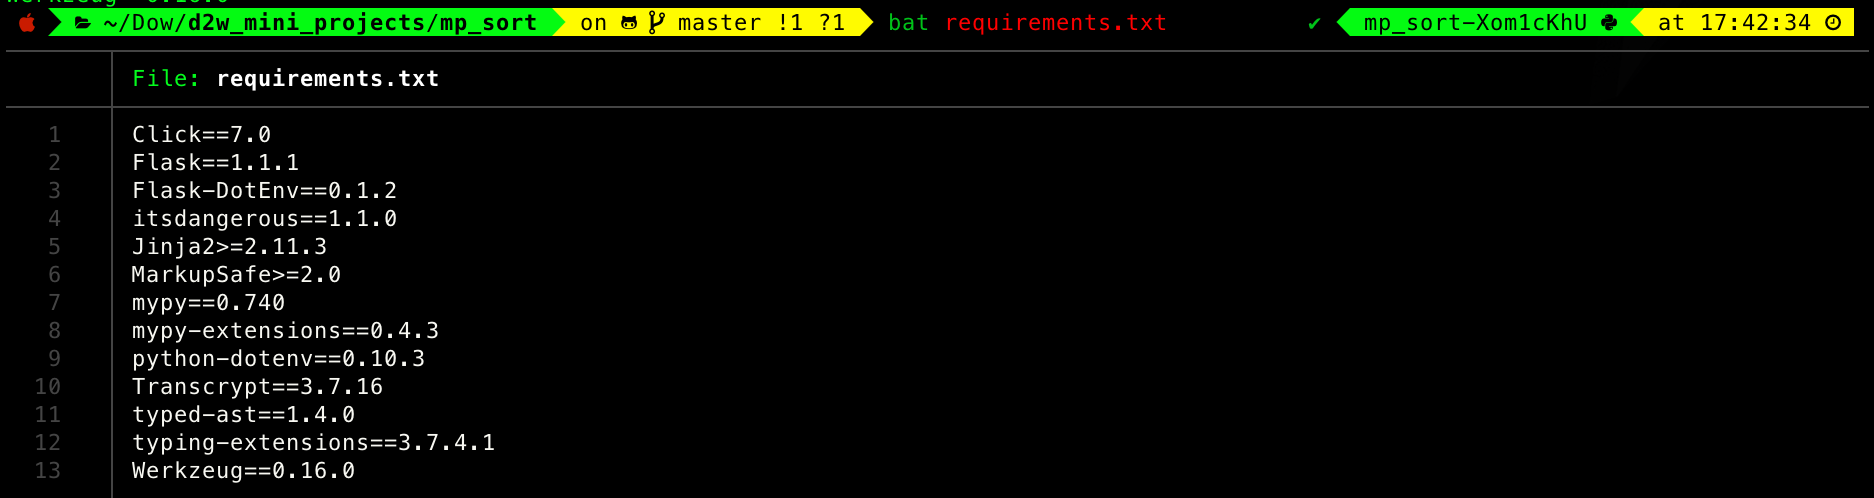
The program pipenv helps you install and manage python modules per project (libraries, which is just scripts that can be used by you as tools to do things). One popular module is numpy, which contains many matrix-related functions (dot product, cross product, etc). For this mini project, we will be using a bunch of python modules that we need to install. It is listed inside requirements.txt inside mp_sort:
pipenv
The first thing to do is to install pipenv to your computer using the command:
pip install --user pipenv
pipis a program that is installed (placed in thePATH) when you installed Python to your computer. It helps you install another program calledpipenv.
If you're met with such WARNING, add the path to your PATH variable:
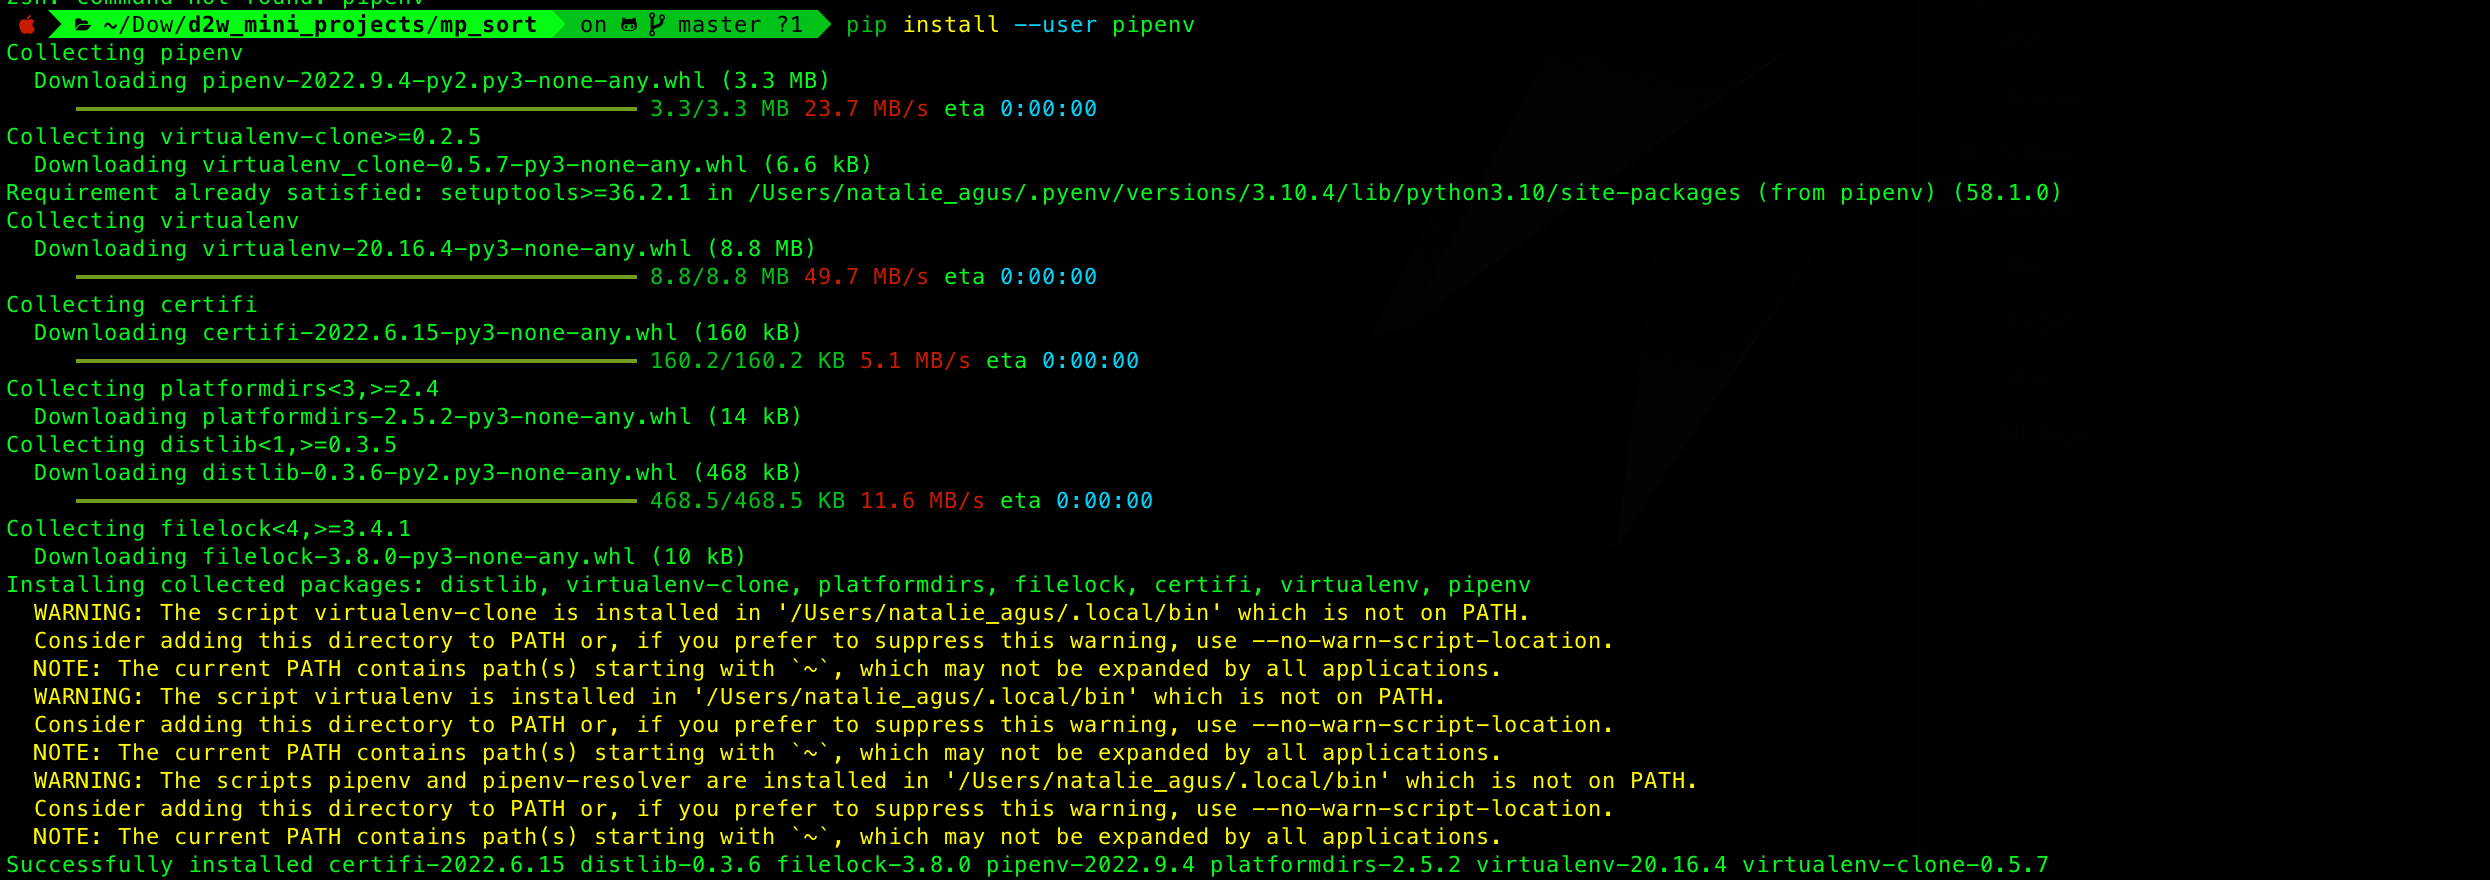
For instance, we add the path /Users/natalie_agus/.local/bin to our .zshrc:
export PATH="$HOME/.local/bin:$PATH" # pipenv
Afterwards we can use pipenv to install all modules listed in requirements.txt.
Where are these modules installed?
You can find the path where pipenv install your modules for this project by typing the command:
pipenv --venv
It will return a path specific to this project, for example:
/Users/natalie_agus/.local/share/virtualenvs/mp_sort-Xom1cKhU
If you open that path in your GUI File Finder, you will find all the modules (both scripts and executable): transcrypt, flask, wheel, etc in that location. Watch the gif below to understand more:
pipenv shell
You still can't run python application.py before running pipenv shell.
This is because despite these modules being present somewhere in your computer, python cannot find it. You need to activate the environment by typing the command pipenv shell, which is none other than telling the terminal to look for python-related modules in the path: /Users/natalie_agus/.local/share/virtualenvs/mp_sort-Xom1cKhU.
Summary
When you work on various projects, they will require various modules. You want to be more organised and have a separated environment (a dedicated place where modules for each individual project is stored). This is what pipenv is for.
Note that you can install any module without pipenv, with the command:
pip install [module-name]
This will install your modules in a standard path such as:
/Users/natalie_agus/.local/lib/python[version]/site-packages
where python[version] can be your default python version, e.g: python3.10. You can imagine how that site-packages folder is going to be (very full!) when you install modules for all projects you ever touch into that folder.
Conclusion
We have introduced to you how command works, and that the first word of a command is none other than the name of the program you'd like to execute (well, at least for now). The commands that have been introduced to you for this mini project are:
cd: change directorygit(clone)pwdfor macOS/Linux orecho %cd%for Windows: check current working directory (check currently "opened" folder)lsfor macOS/Linux ordirfor Windows: print out the files/folders in the currently "opened" folderpip install ...: run pip to install necessary modules for your project, likeflaskpython ....,flask....: runpiporpythonfor your project
Notice that flask run and python application.py does the same thing, that is to run the script application.py.